
How to Wash Your Car Properly: Tips for a Spotless Finish

Washing your car might seem simple, but doing it the right way can make all the difference. It’s not just about keeping it shiny—it’s about protecting the paint, preventing scratches, and maintaining its value over time. Using proper tools and techniques ensures a spotless finish without accidentally causing damage. Whether you’re dealing with road grime, brake dust, or water spots, knowing how to wash a car properly keeps it looking its best while extending its lifespan.
Preparing to Wash Your Car
Before you get soapy water everywhere, it’s essential to lay the groundwork for a proper car wash. Taking a little extra time to prepare ensures your car gets the care it deserves and avoids causing unnecessary damage to the paintwork. Let’s break this down into three steps to ensure you’re ready for the job.
Select a Suitable Location
Where you wash your car matters more than you might think. Always aim for a shaded, flat area. Why? Direct sunlight causes water and soap to dry too fast, leaving behind streaks and water spots that are hard to remove. A shaded spot protects your car’s finish and gives you the time to work systematically. Plus, having a flat surface ensures your buckets or tools won’t accidentally tip over, and your vehicle remains secure while being cleaned. If possible, choose a spot away from trees or other areas where falling debris could ruin your hard work.
Gather the Necessary Tools and Supplies
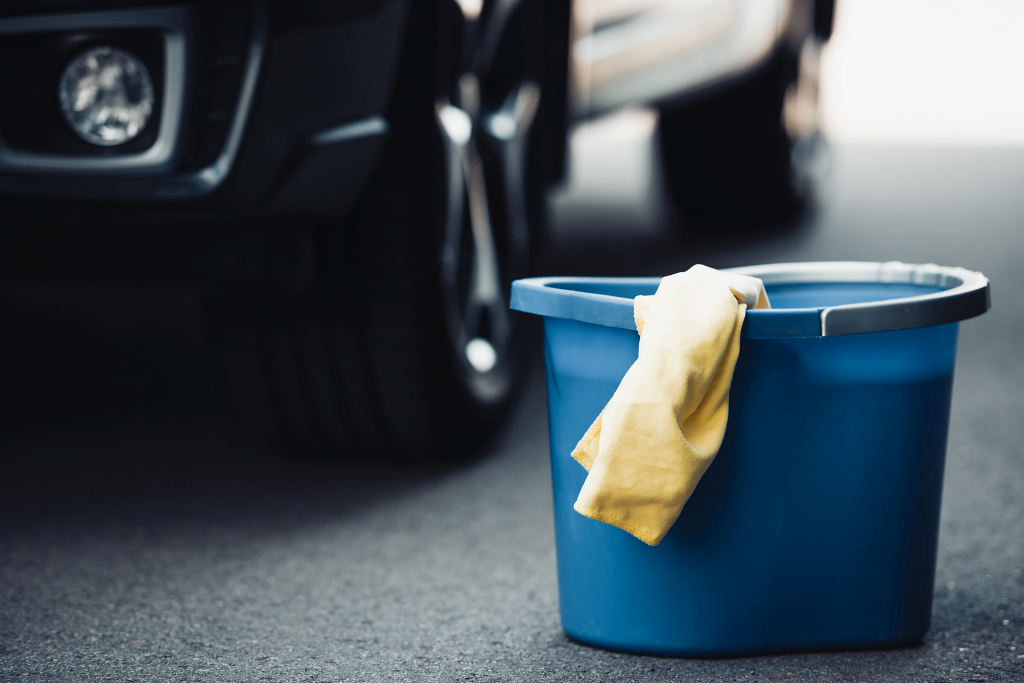
Don’t start washing unless you have everything you need. Scrambling to find supplies halfway through will only cause frustration (and soap drying on your car!). Here’s what you’ll need for an effective and safe wash:
- Two buckets: One for soapy water, one for rinsing—this reduces the risk of putting dirt back onto your car.
- Car wash soap: Skip the dish soap; it’s too harsh for your car’s finish, and it can strip wax.
- Microfiber wash mitts: Softer than sponges, these prevent scratches by trapping dirt away from the surface.
- Soft brushes: Perfect for cleaning wheels or hard-to-reach areas, like the grille.
- Drying towels: Opt for microfiber towels or a chamois to soak up water and avoid streaks.
- Optional tools: A foam cannon or spray nozzle, an air blower or leaf blower (for drying), grit guards for your buckets, and specialized cleaners for wheels or bug stains.
Have everything within arm’s reach before you start, so the process goes as smoothly as possible.
Perform a Quick Inspection
Before the first drop of water hits your car, take a minute to walk around it. Look for areas that might need extra attention. Are there stuck-on bug splatters, stubborn tar spots, or bird droppings? These require special treatment before a general wash. Failing to pre-treat them may result in scratches or stains. Also, check for any existing scratches, chips, or rust spots—getting water into open damage could make things worse. Noticing these early ensures you’re prepared to handle them without turning a normal wash into a risky move for your paint.
By prepping effectively, you’re setting yourself up for a successful car-washing experience. Taking these small steps saves time, protects your vehicle, and delivers the pristine, spotless look you’re aiming for.
Step-by-Step Guide to Washing Your Car
Washing your car isn’t just about splashing on soap and water—there’s a proper way to do it if you want your vehicle to shine without causing damage. Following a structured process not only ensures a spotless finish but also protects your car’s paint and trim. Let’s break it down into easy-to-follow steps to help you wash your car like a pro.
Pre-Rinse the Vehicle
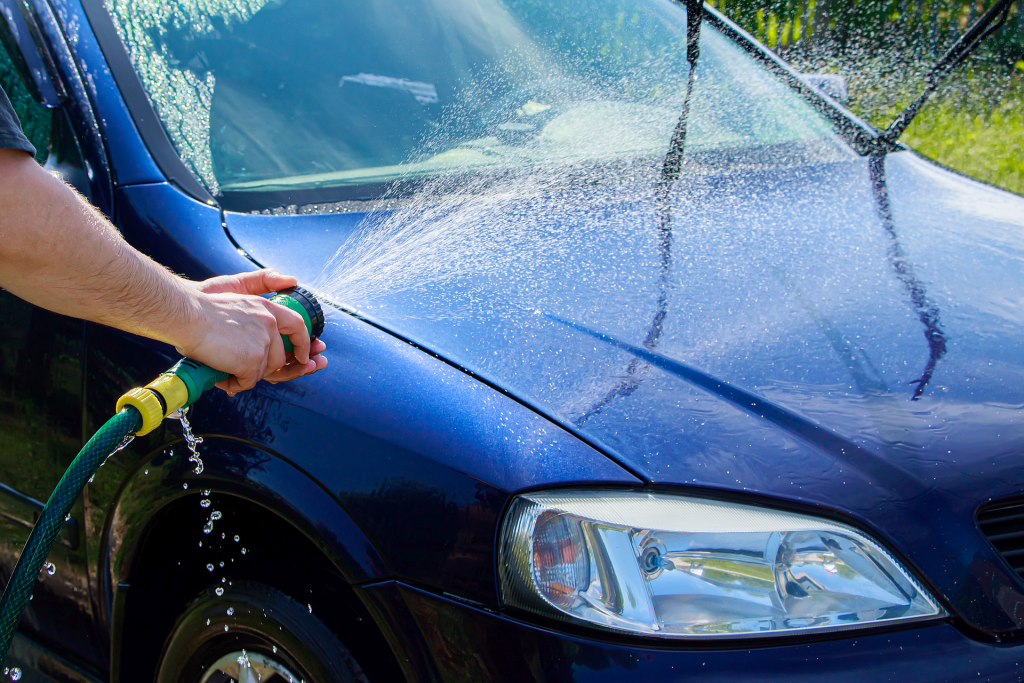
Before you even think about applying soap, start by rinsing your car thoroughly. A hose or pressure washer is your best bet here. Why? Loose dirt, dust, and debris sitting on the surface can act like sandpaper when you start scrubbing. Blasting these particles off with water minimizes the risk of scratching your paint.
Focus on areas that accumulate the most dirt, like the lower panels, wheel wells, and bumpers. Adjustable nozzles on hoses work great, but if you’re using a pressure washer, keep it at a safe distance (about 12–18 inches away) to avoid damaging the finish. Pre-rinsing sets the stage for a smoother, scratch-free wash.
Clean the Wheels and Tires First
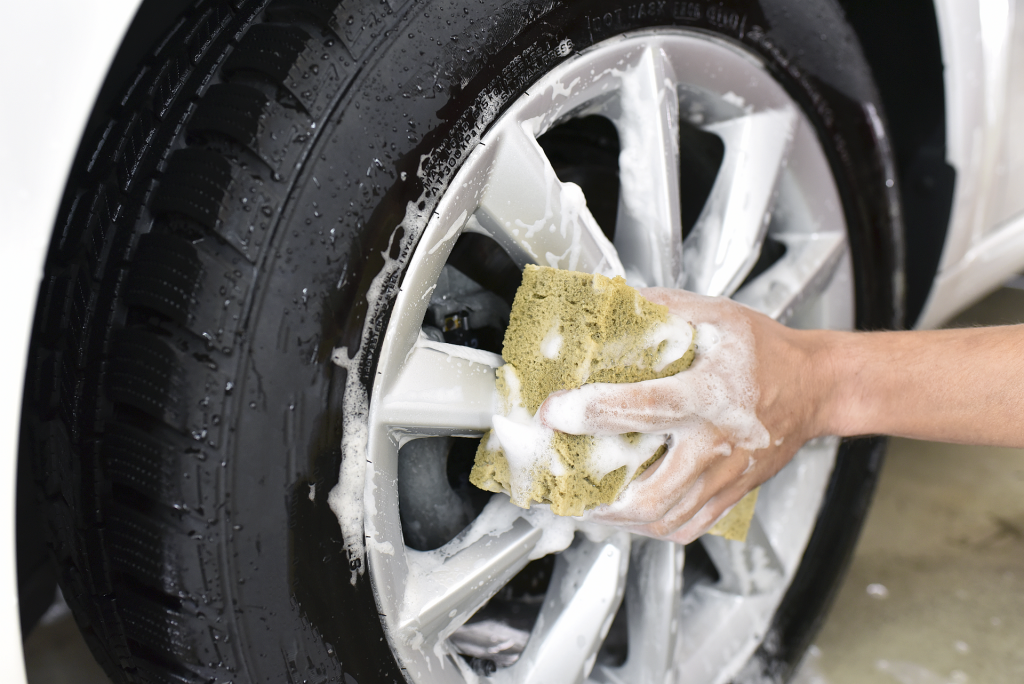
Your wheels are some of the dirtiest parts of your car. Think about all the brake dust, grime, and road tar they pick up. Cleaning them first prevents dirt from splashing back onto a freshly washed body.
Here’s a quick process for your wheels and tires:
- Use a dedicated wheel cleaner—never regular car soap. These cleaners break down stubborn grime effectively.
- Grab a wheel brush or soft-bristle brush to scrub away dirt in tight spaces like between spokes or around lug nuts.
- Rinse thoroughly to wash away cleaner and loosened grime.
By starting with the wheels, you’ll avoid cross-contaminating the rest of the car with the dirt and debris that collects here.
Wash the Body with a Two-Bucket System
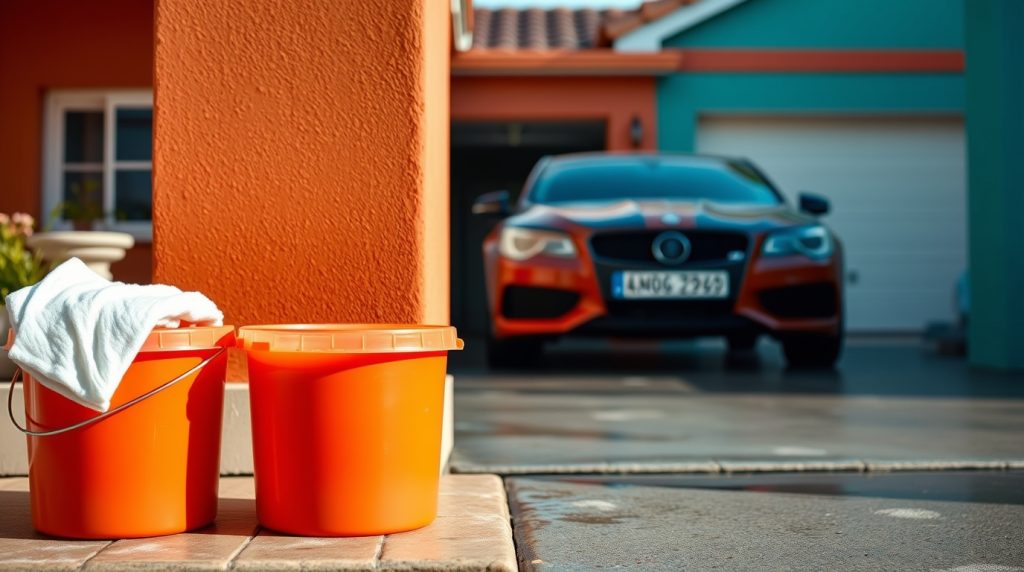
Ever heard of the two-bucket method? It’s the gold standard for car washing. This method helps you avoid putting dirt from your wash mitt back onto your car, which can scratch the paint. Here’s how it works:
- Fill one bucket with soapy water using a car shampoo (never use dish soap; it’s too harsh).
- Fill the second bucket with clean water for rinsing your wash mitt.
Each time you wipe your car with the soapy mitt, rinse it in your clean water bucket before dipping back into the soapy bucket. This prevents dirt from transferring back to your car’s surface. Work in sections, starting at the top (where it’s least dirty) and moving downwards—the bottom panels and bumpers are the dirtiest areas.
Rinse Thoroughly
Once you’ve worked through every section of the car, it’s time for a thorough rinse. Take your time here; any leftover soap can dry into streaks or water spots. Use a steady stream of water to wash away every last bit of soap, paying extra attention to crevices like side mirrors, door handles, and trim where residue tends to hide.
For the best results, rinse from top to bottom again, as water flows downward naturally, helping take soap residue with it. Still see suds? Rinse again—it’s better to be thorough than to deal with splotchy spots later.
Dry with a Microfiber Towel or Chamois
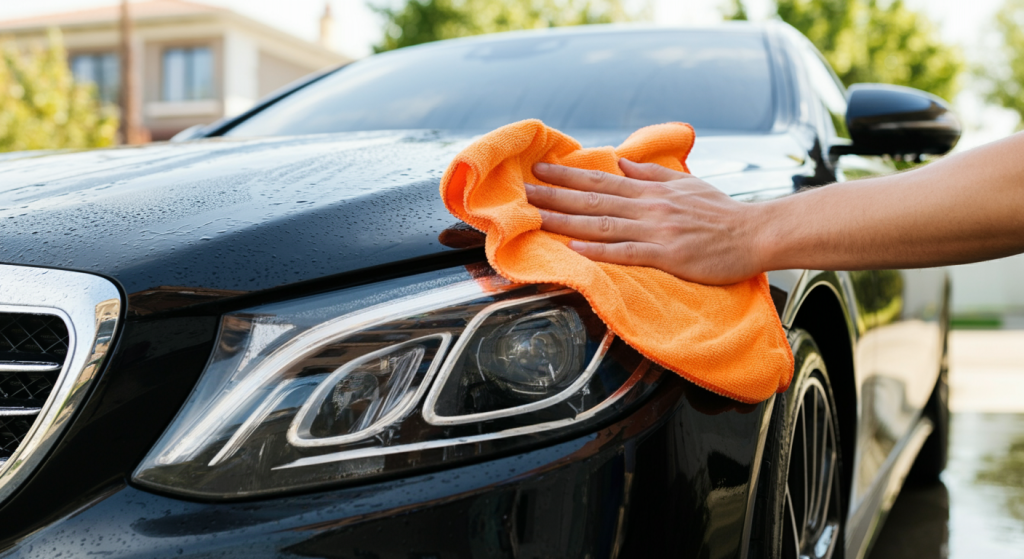
Leaving your car to air dry isn’t ideal—it can lead to ugly water spots caused by minerals in the water. To prevent this, use a microfiber towel or a chamois to dry your car by hand. These materials are soft, absorbent, and won’t scratch your paint.
Start at the top and work your way down, gently patting the surface instead of dragging the towel. Wring it out as you go to avoid spreading water around. For a streak-free finish, consider using a drying aid spray or a dedicated squeegee for windows.
Drying your car properly not only keeps it spotless but also helps protect it from water damage over time. You’ll notice a professional-quality shine that shows off all your hard work.
Treating Special Areas of Your Car
Washing your car isn’t just about scrubbing the doors and hood—you’ve got to pay attention to those tricky spots that demand a little extra care. Neglecting areas like emblems, grilles, and special finishes can downgrade your vehicle’s appearance over time. By using the right techniques, you can protect these details while keeping your car’s look sharp and polished.
Cleaning Emblems and Grilles
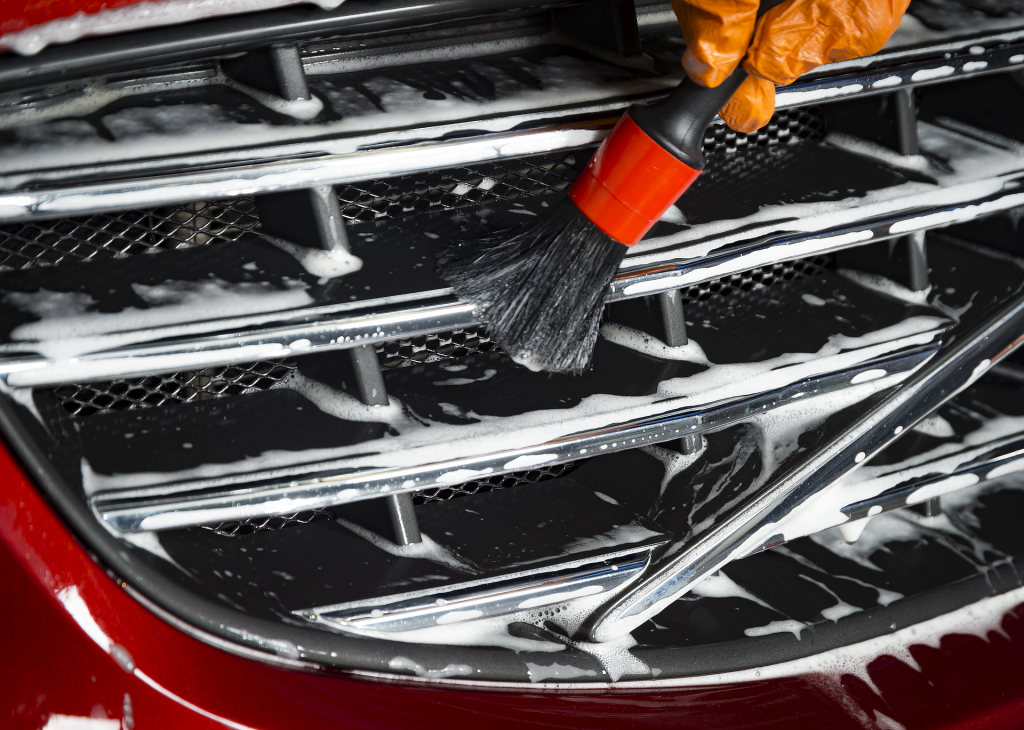
Emblems and grilles are magnets for dirt, bugs, and grime, and their intricate designs make cleaning them a challenge. Using improper tools here could result in scratches or dirt buildup. Here’s how to clean these spots effectively:
- Start with a Pre-Rinse: Use a hose or pressure washer to rinse away loose dirt. This minimizes the chance of rubbing abrasive particles into the finish.
- Use Soft Brushes: Go for detailing brushes with soft bristles, like a boar’s hair brush or a nylon brush, to avoid scratching. A small toothbrush or makeup brush can work wonders for tight crevices.
- Soap It Up: Apply a gentle car wash soap or an all-purpose cleaner directly onto the surface. Let it sit for a minute to loosen stubborn dirt.
- Agitate and Clean: Carefully move the brush or microfiber tool in circular or straight motions (depending on the design) to break up grime. Avoid heavy pressure, and make sure to rinse as you go.
- Finish with a Rinse: Use a steady stream of water to wash away remaining soap and dirt, ensuring no residue builds up in hard-to-reach corners.
By keeping these tools handy and working with patience, those emblems and grilles will sparkle just like the rest of your ride.
Maintaining Matte or Special Finishes

Matte finishes look stunning but require a completely different approach compared to regular paint. Cleaning them with the wrong products can lead to streaks, scratches, or loss of the matte texture.
- Skip the Wax and Polish: Matte finishes aren’t designed to shine. Avoid traditional waxes, polishes, or anything with a gloss enhancer. Instead, opt for matte-safe cleaners and soaps.
- Use Matte-Specific Products: Many car care brands offer specialized shampoos and detail sprays for matte paint. These are gentle, leave no residue, and won’t alter the finish.
- Gentle Washing Only: Hand-washing is the safest option. Use a microfiber mitt and a two-bucket system (one for soap, one for rinse water) to eliminate cross-contamination.
- Avoid Car Washes: Automatic car washes with their brushes can leave fine scratches or shiny spots on matte finishes. If you must use one, look for a touchless option.
- Dry With Care: Use a clean, damp microfiber towel to dry the car. Avoid rubbing too hard—just pat or lightly wipe the surface to prevent leaving shiny marks.
When treated with the right techniques, matte or other special finishes maintain their unique appeal and last longer.
Dealing with Stubborn Stains
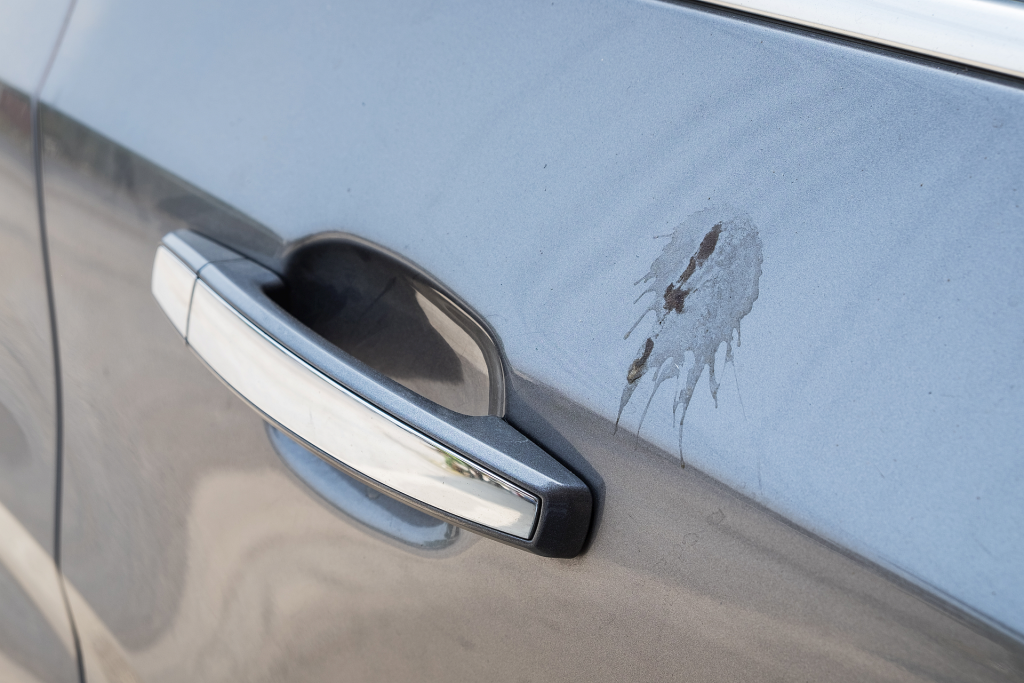
Few things are more frustrating than spotting bird droppings or sticky tree sap on your car. Left untreated, these can eat into your paint and leave permanent stains. Here’s how you can tackle them safely:
- Act Quickly: Fresh stains are always easier to remove. The longer they sit, the more damage they can do, especially acidic bird droppings.
- Soften the Stain: Lay a damp microfiber towel over the spot for a few minutes to loosen it. For stubborn sap, try a bit of rubbing alcohol or a dedicated sap remover.
- Use a Safe Cleaner: Apply a quick detailer spray, a car-safe cleaning gel, or a baking soda solution (mixed with warm water) to neutralize acids and lift contaminants.
- Pat, Don’t Rub: Gently dab the stain with a microfiber cloth—never scrub, as this can spread the mess and scratch the paint.
- Finish with a Wash: After removing the stain, wash and rinse the area to eliminate any leftover residue. A quick layer of wax or sealant afterward provides extra protection.
Taking an extra five minutes to deal with these stains when you notice them can save you from hours of paint correction later. Plus, keeping your car stain-free means more time enjoying its pristine finish!
Additional Tips for an Effective Car Wash
Washing your car isn’t just about the basics—taking your approach up a notch can make your vehicle shine while ensuring its longevity. By using the right tools, avoiding common pitfalls, and sticking to a consistent schedule, you’ll protect your paintwork and save time in the long run. Let’s look at some key tips that can elevate your car washing game.
Use a Foam Cannon for Efficiency
If you’ve ever felt like applying soap evenly is a hassle, a foam cannon could become your favorite car wash tool. These devices attach to your pressure washer and cover your car in a thick layer of foam. But why bother with one?
- Time Saver: A foam cannon speeds up the soap application process, letting you cover your vehicle in seconds.
- Consistent Cleaning: By evenly distributing soap, the foam softens dirt and grime, making it easier to rinse off without scrubbing too hard.
- Reduced Scratches: Since dirt is loosened and lifted before you start scrubbing, you’re less likely to drag particles across the paint.
Think of the foam as a protective barrier—it ensures that you’re not grinding dust and grime into your car’s finish. Plus, who doesn’t love seeing their car covered in sudsy goodness?
Avoid Common Mistakes
Some car washing errors are so widespread that many people don’t realize they’re doing harm. Here are a few to avoid:
- Using Dish Soap: While it might seem convenient, dish soap strips wax and deteriorates your car’s clear coat protection. Always opt for dedicated car wash soap—it’s formulated to clean while preserving paint and wax.
- Skipping the Pre-Rinse: Jumping straight to scrubbing without rinsing off loose dirt is like rubbing sandpaper over your car. Always rinse thoroughly before picking up your wash mitt.
- Washing in Direct Sunlight: Nothing ruins a good car wash faster than soap drying into streaks and water spots. Shift to the shade or wash during cooler parts of the day.
- One-Bucket System: Using one bucket means transferring dirt back onto your car. Instead, use the two-bucket method: one for soapy water and one for rinsing your mitt.
By avoiding these mistakes, you’ll preserve your car’s finish and make every wash count.
Maintain Consistency with Wash Frequency
How often should you wash your car? The answer depends on where you live, how often you drive, and the local weather conditions. Think of your car like your skin—it needs regular care to stay in good shape.
- Regular Use in Urban Areas: If you frequently drive on city roads, aim to wash your car every 1-2 weeks. Pollution, dust, and bird droppings can quickly take a toll.
- Rural or Dusty Environments: Dirt roads and windborne particles mean you should clean your car weekly to prevent buildup.
- Winter Months: Snow, salt, and sand can wreak havoc on your vehicle’s undercarriage. Try washing every week or two to minimize seasonal damage.
- Occasional Use or Garage-Kept Cars: If your car isn’t exposed to the elements regularly, a wash every 3-4 weeks should suffice—but don’t skip it entirely! Dust and grime will accumulate over time.
Keeping to a schedule ensures debris doesn’t have time to embed itself into your paint, and your vehicle stays looking sharp. Plus, regular washing means less effort required per clean—win-win!
Frequently Asked Questions About Washing a Car
When it comes to washing your car, you may find yourself wondering about certain techniques, products, or tools. It’s not just about soaping it up; there’s a lot more to consider if you want to clean your vehicle safely while maintaining its gloss and structure. Let’s tackle some of the most common questions to help you avoid mistakes and get the best results every time.
What Should I Do If I Don’t Have Access to a Hose?
No hose? No problem! You’ve got plenty of options to keep your car clean without one.
- Waterless Car Wash Products: These sprays are specially formulated to lift dirt and grime without requiring any rinsing. Simply spritz the solution onto a panel, wipe it clean with a microfiber cloth, and you’re good to go. They’re compact, convenient, and perfect for apartment dwellers or those living in water-restricted areas.
- Self-Service Car Wash Stations: These facilities provide hoses, soap, and other tools—usually on a pay-per-use basis. It’s a great alternative if you don’t have the equipment or space for a full wash at home.
- Portable Pressure Washers: Battery-powered or hand-pump pressure washers are another option. These devices allow you to rinse your car with minimal water, making them eco-friendly and convenient for on-the-go use.
- Bucket Washing Method: Fill up two buckets—one for soapy water and one for rinsing your wash mitt. While this method takes longer, it’s an effective way to clean your car without requiring direct water flow.
By exploring these options, you can ensure your car stays clean even without access to a traditional hose.
How Can I Avoid Swirl Marks During Washing?
Swirl marks are the bane of car enthusiasts everywhere. These unsightly scratches often result from improper washing techniques, but with a few simple adjustments, you can minimize or completely avoid them.
- Ditch the Circular Motions: When washing or drying your car, always use straight, linear motions instead of circles. This reduces the chances of dirt particles creating fine scratches.
- Use Quality Tools: Invest in a plush microfiber wash mitt and high-pile microfiber drying towels. These are softer than sponges or regular cloths and trap grit deeper within the fibers, keeping it away from your paint.
- The Two-Bucket System is Key: Always rinse your mitt in a clean water bucket before dipping it back into your soapy water. This keeps dirt and grime from accumulating and being spread across the paint.
- Foam Pre-Treatment: Using a foam cannon or sprayer as part of your pre-wash loosens dirt, reducing the amount of scrubbing needed. Less friction means fewer scratches.
Taking these precautions keeps your car’s finish smooth and pristine, even after years of washing.
Can I Use Household Products to Wash My Car?
It might be tempting to grab whatever cleaning products you have lying around the house, but this could do more harm than good.
- Avoid Dish Soap: While great for cutting grease on your dishes, it’s harsh on car paint. It strips away protective wax layers and can accelerate the dulling of your finish.
- Skip the Glass Cleaners on Paint: Certain glass cleaners contain ammonia, which can damage your paint and trim.
- Stick to Products Made for Cars: Dedicated car soaps, wheel cleaners, and other automotive products are specifically designed to clean effectively without causing damage.
- DIY Detergents? Be Wary: If you must use a household cleaner, choose a mild one without harsh chemicals or abrasives—but this should only be a last resort.
Your car’s paintwork requires products that are gentle yet effective. Investing in proper automotive care supplies not only protects your vehicle but also saves you from costly fixes down the line.
Should I Wax My Car After Every Wash?
Waxing is a critical part of car care, but how often do you really need to do it?
- General Guideline: You don’t need to wax after every single wash. For most vehicles, waxing every 2-3 months is sufficient, depending on driving conditions and climate.
- What Wax Does: It adds a layer of protection against UV rays, water, and contaminants like bird droppings. It also enhances your car’s shine, giving it that showroom-worthy look.
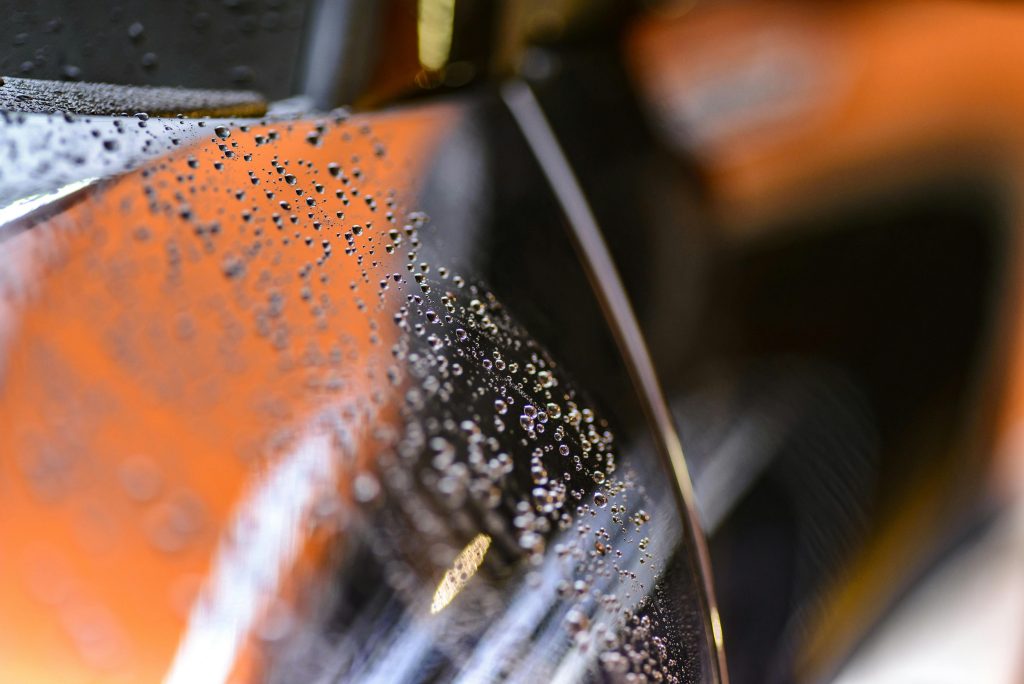
- Signs Your Car Needs Waxing: After washing, if water no longer beads on the surface, it’s time to reapply wax.
- Use Spray Waxes for Maintenance: If you want to keep your car consistently glossy between full wax applications, a spray wax or quick detailer after each wash can be a convenient solution.
Waxing is like sunscreen for your car—apply it routinely to keep your paint looking flawless and protected from the elements.
Conclusion
Washing your car the right way isn’t just about appearances—it protects your investment and keeps it looking like new for longer. By following proper techniques like pre-rinsing, using a two-bucket system, and drying with care, you’ll avoid damage and maintain your car’s shine.
Regular and thoughtful cleaning prevents scratches, preserves the paint, and even safeguards against environmental damage, such as rust or fading. Taking pride in a clean car is more than skin-deep—it’s about caring for what keeps you on the road.
Ready to give your car the care it deserves? Grab your supplies, and start washing with confidence. A well-maintained vehicle is always a joy to drive.